

Now that I’ve changed cars, I’ll be focusing on articles about car travel and preparations for a while. I plan to share my experiences of sleeping in this vehicle while going out to watch trains, traveling around Japan, and living on the road while playing games and reading books. Let’s see how it goes.
The day after visiting Poppo no Oka, I went to pick up my new 6AA-RP8 Stepwgn. I traded in my Fit 3 on the spot. Despite the vomiting incident the day before, I cleaned the car thoroughly and managed to get rid of the smell, or at least I think I did. In any case, there were no issues with the trade-in.
I transferred only one item from my Fit 3 to the Stepwgn: a quilted mat that I had cherished since my Fit days and that had belonged to my late father-in-law. I thought I had emptied the Fit of all its belongings, but later I remembered that I had left a battery charger in the small storage compartment in the rear hatch. Well, the charger had become sticky due to hydrolysis, so I didn’t really need it anyway.
As soon as I picked up the car, I headed to Seino Transportation to collect the bed kit. It seemed that the MGR bed kit was too large for regular delivery and had been held at the local depot for pickup. I had checked the dimensions beforehand, but even so, the boxes only just fit inside the car. The bed kit came in four cardboard boxes, and one of them was particularly heavy.
Assembling the MGR Customs Bed Kit
The reason I decided to buy a bed kit instead of building one myself was that I wanted to get on the road as soon as possible, before the summer holidays came to an end. Another reason was that my wife wasn’t confident in my DIY skills when it came to building a bed kit. The luggage board I made for my Fit using Erector pipes was held together with adhesive tape, so it often came loose on long drives. Seeing that probably made her worry about how reliable my homemade bed kit would be.
MGR Customs seemed to offer several types of bed kits. One difference was whether the mat for the rear section of the bed was split down the middle or made as a single piece. The one-piece mat looked more practical, so I went with that option. It was also cheaper.
While writing this article, I realized that there was also a board-type option instead of the mat. Since I wanted to securely attach a table on top of the bed, the board type would have been a better choice. The table I placed on the mat wobbles because of the cushioning underneath.
There also seemed to be different options for the support boards placed under the legs. The version I bought came with one board for each side. I’ll cover this in more detail in a future article, but the boards created a height difference, so I filled in the gap when building the sliding rails.
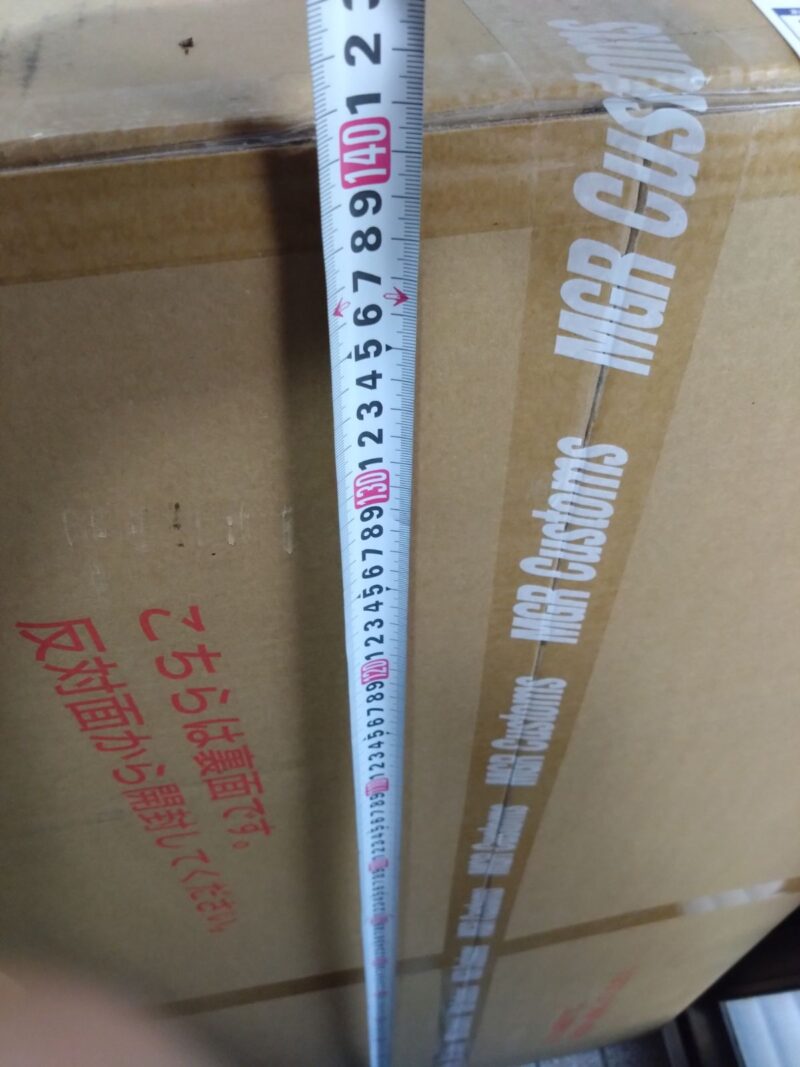
I measured the boxes at home, and they were approximately 140 cm long. The following image shows how they fit inside the car.
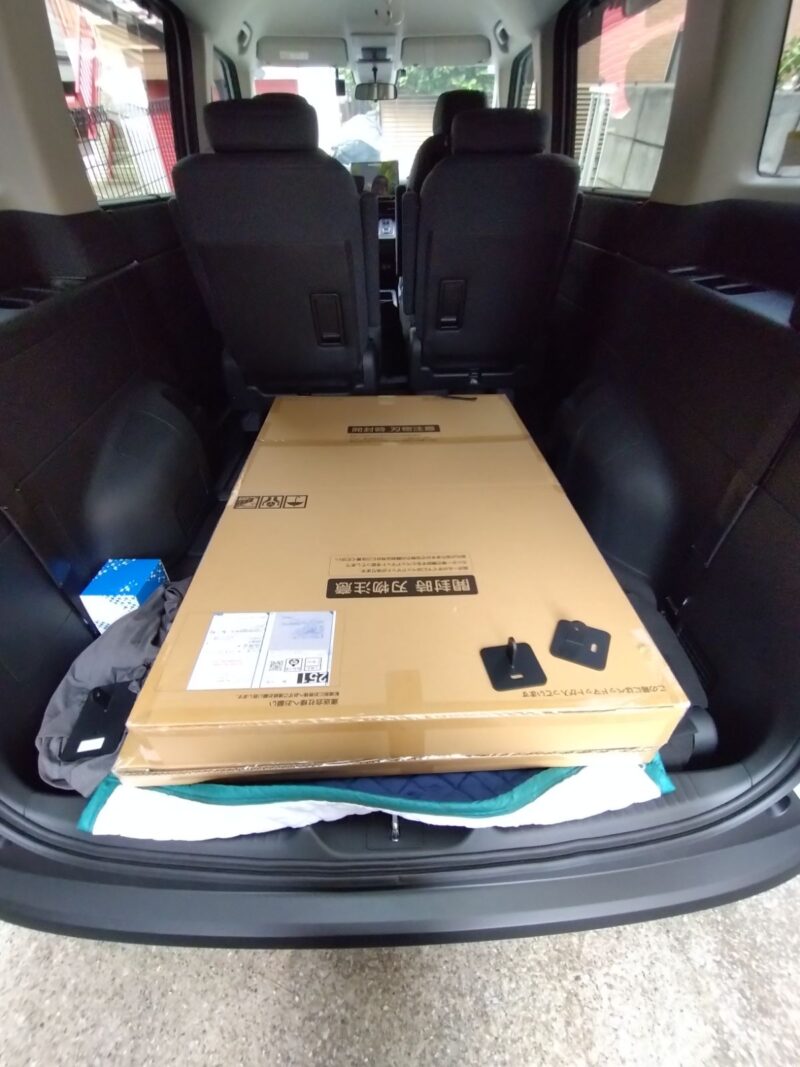
With the second-row seats pushed all the way forward, the boxes fit just right.
My child had been eagerly waiting for the Stepwgn. After coming home from kindergarten, he wanted to ride in it, so even though we had nowhere in particular to go, I took him for a short drive around the neighborhood. I’ll also be posting pictures of the Stepwgn on Instagram. Originally, I planned to keep my Instagram account exclusively focused on trains, but at this point, I don’t really care anymore. There are a lot of things I just don’t care about as much these days.

I got to work the very next day. I managed to open the boxes, but it took me an entire day just to peel the tape off the cardboard.
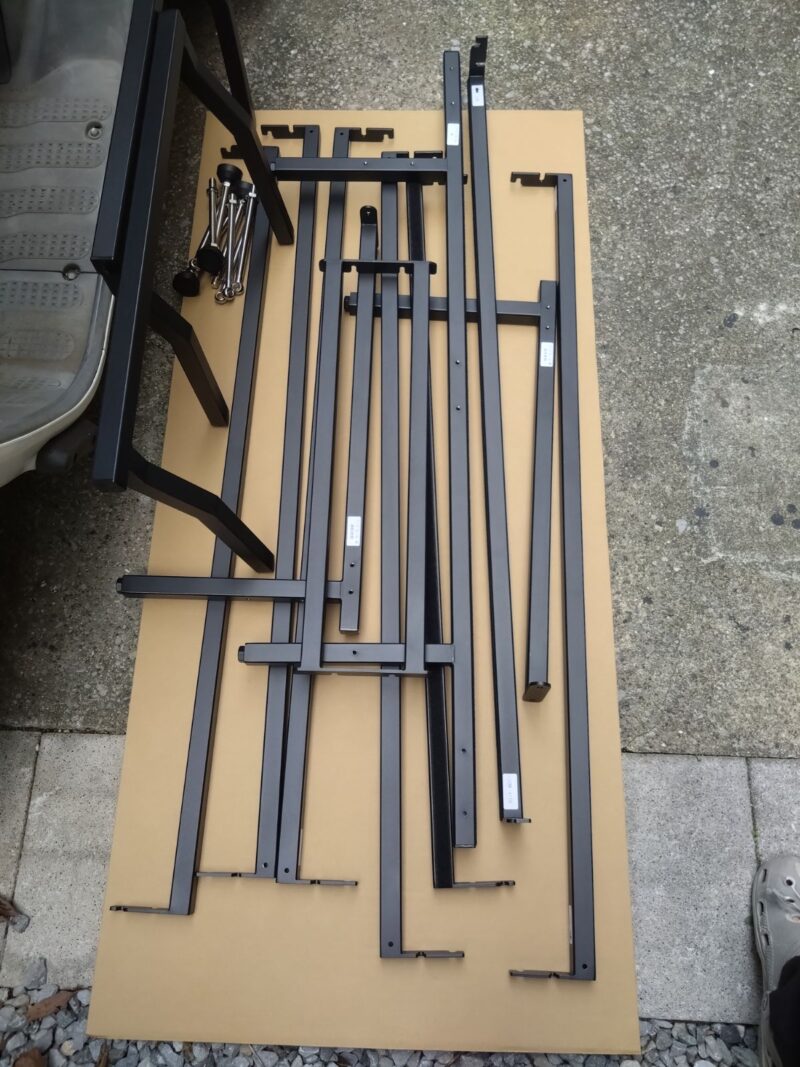
I laid out all the parts neatly to make assembly easier.
I continued working the following day, Wednesday, assembling the bed kit and finally tightening all the screws. I also fitted all the suction cups for the sunshades, working under the blazing sun. Until now, I had always made my own curtains for car camping, but this time I didn’t have the time to work out a design, so I ended up buying a ready-made set. The sunshades cost nearly 10,000 yen, so I was shocked at how thin and flimsy they were. However, after trying them out, I found that they provided decent insulation. There’s a huge difference between having them and not having them.
The problem is that they’re attached with suction cups, so they tend to come loose. Once, half a shade peeled away and was left dangling, and the silver reflective surface bounced all the sunlight straight into the car. The heat inside was so intense that I genuinely felt like I might die.
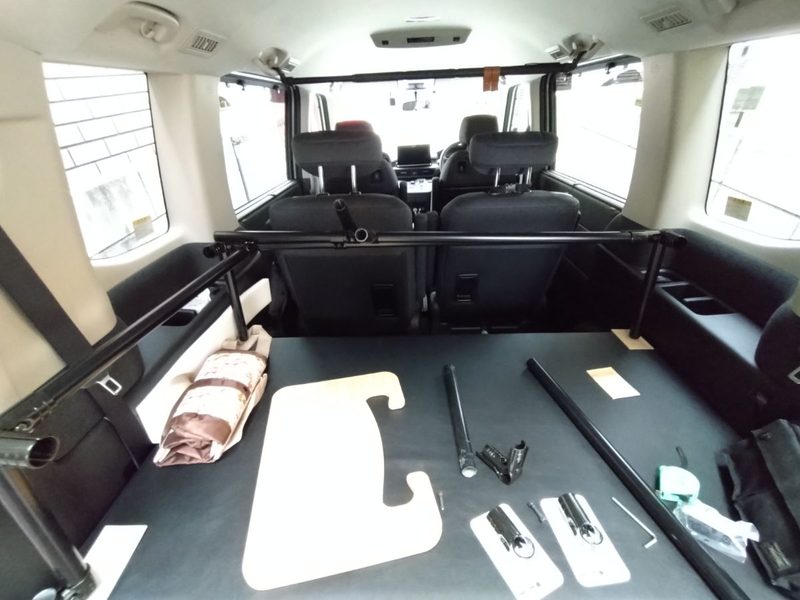
Assembling the bed kit itself was a straightforward job that anyone could do. I set it at the lowest height for now and moved on to building the second level. The plan is to create a huge table that will also serve as a bed for my child. Since my child will be climbing on top of it, I can’t afford to have the structure break halfway through. For that reason, I decided to use metal joints for all the connections.
The following section is about the games I was playing with my child around this time. Once the huge table is complete, the story will continue with preparations for our next trip.
Completing LEGO City Undercover 100% on the Nintendo Switch
Around this time, I was spending a lot of time playing the Nintendo Switch version of LEGO City Undercover with my four-year-old son, and we managed to reach 100% completion. While my son played freely every day, I gradually worked my way through the game with the help of a walkthrough website. LEGO City Undercover is a great game to play with children. One of its biggest advantages is how easy the controls are to use. My son loves vehicles, so he can have fun driving all kinds of vehicles, including cars and motorcycles. As you progress through the story, helicopters become available, too.
When my son first started playing the Switch, we began with Animal Crossing: New Horizons, but these days, he’s completely hooked on LEGO City Undercover. Since he was enjoying LEGO games so much, I bought LEGO Harry Potter as well. However, the dialogue doesn’t seem to be translated, and the game has no spoken dialogue, leaving you to follow a linear sequence of events. I haven’t even seen the Harry Potter movies, so I have absolutely no idea what we’re doing or where we’re supposed to be going. As a result, my son hasn’t touched that game at all. LEGO City Undercover, on the other hand, is an open-world game with plenty of freedom. Every day, he visits different parts of the city and enjoys replaying missions we’ve already completed several times.
My son doesn’t really understand what 100% completion means, so even after we reached it, he continued playing LEGO City Undercover just as enthusiastically as before. So what happens when you reach 100%? You unlock an option called “Super Minifigure,” which makes your character grow enormous. Perhaps it’s awkward to control, because although my son was excited about it at first, he now plays without ever using the giant-size feature.
One of the things that made reaching 100% completion frustrating was that some character names differed slightly from those listed on the walkthrough websites. This got me thoroughly confused at times and made the whole process quite difficult. I found someone on another website who had compiled a list of characters with different names, and I repeatedly cross-checked it against two walkthrough sites and the costumes in the game itself. The other problem was forgetting to collect some of the studs. I’ll list everything below.
Locations of the Super Stars
- Uptown — On the roof of the library
- Fresco — At the top of the Fushironi Tower
- Cherry Tree Hills — On a rooftop
- Bright Lights Plaza — On the roof of an apartment building
- Paradise Sands — On top of the roller coaster
Buying Gold Bricks in the Police Station Basement
This is another requirement for reaching 100% completion. You might overlook it if you simply play through the game normally. In the basement of the police station, you can use the studs you’ve collected to purchase Gold Bricks. There are 16 in total, so don’t forget to check this area if you’re aiming for 100% completion.


コメント